The Beauty of Micro Greens
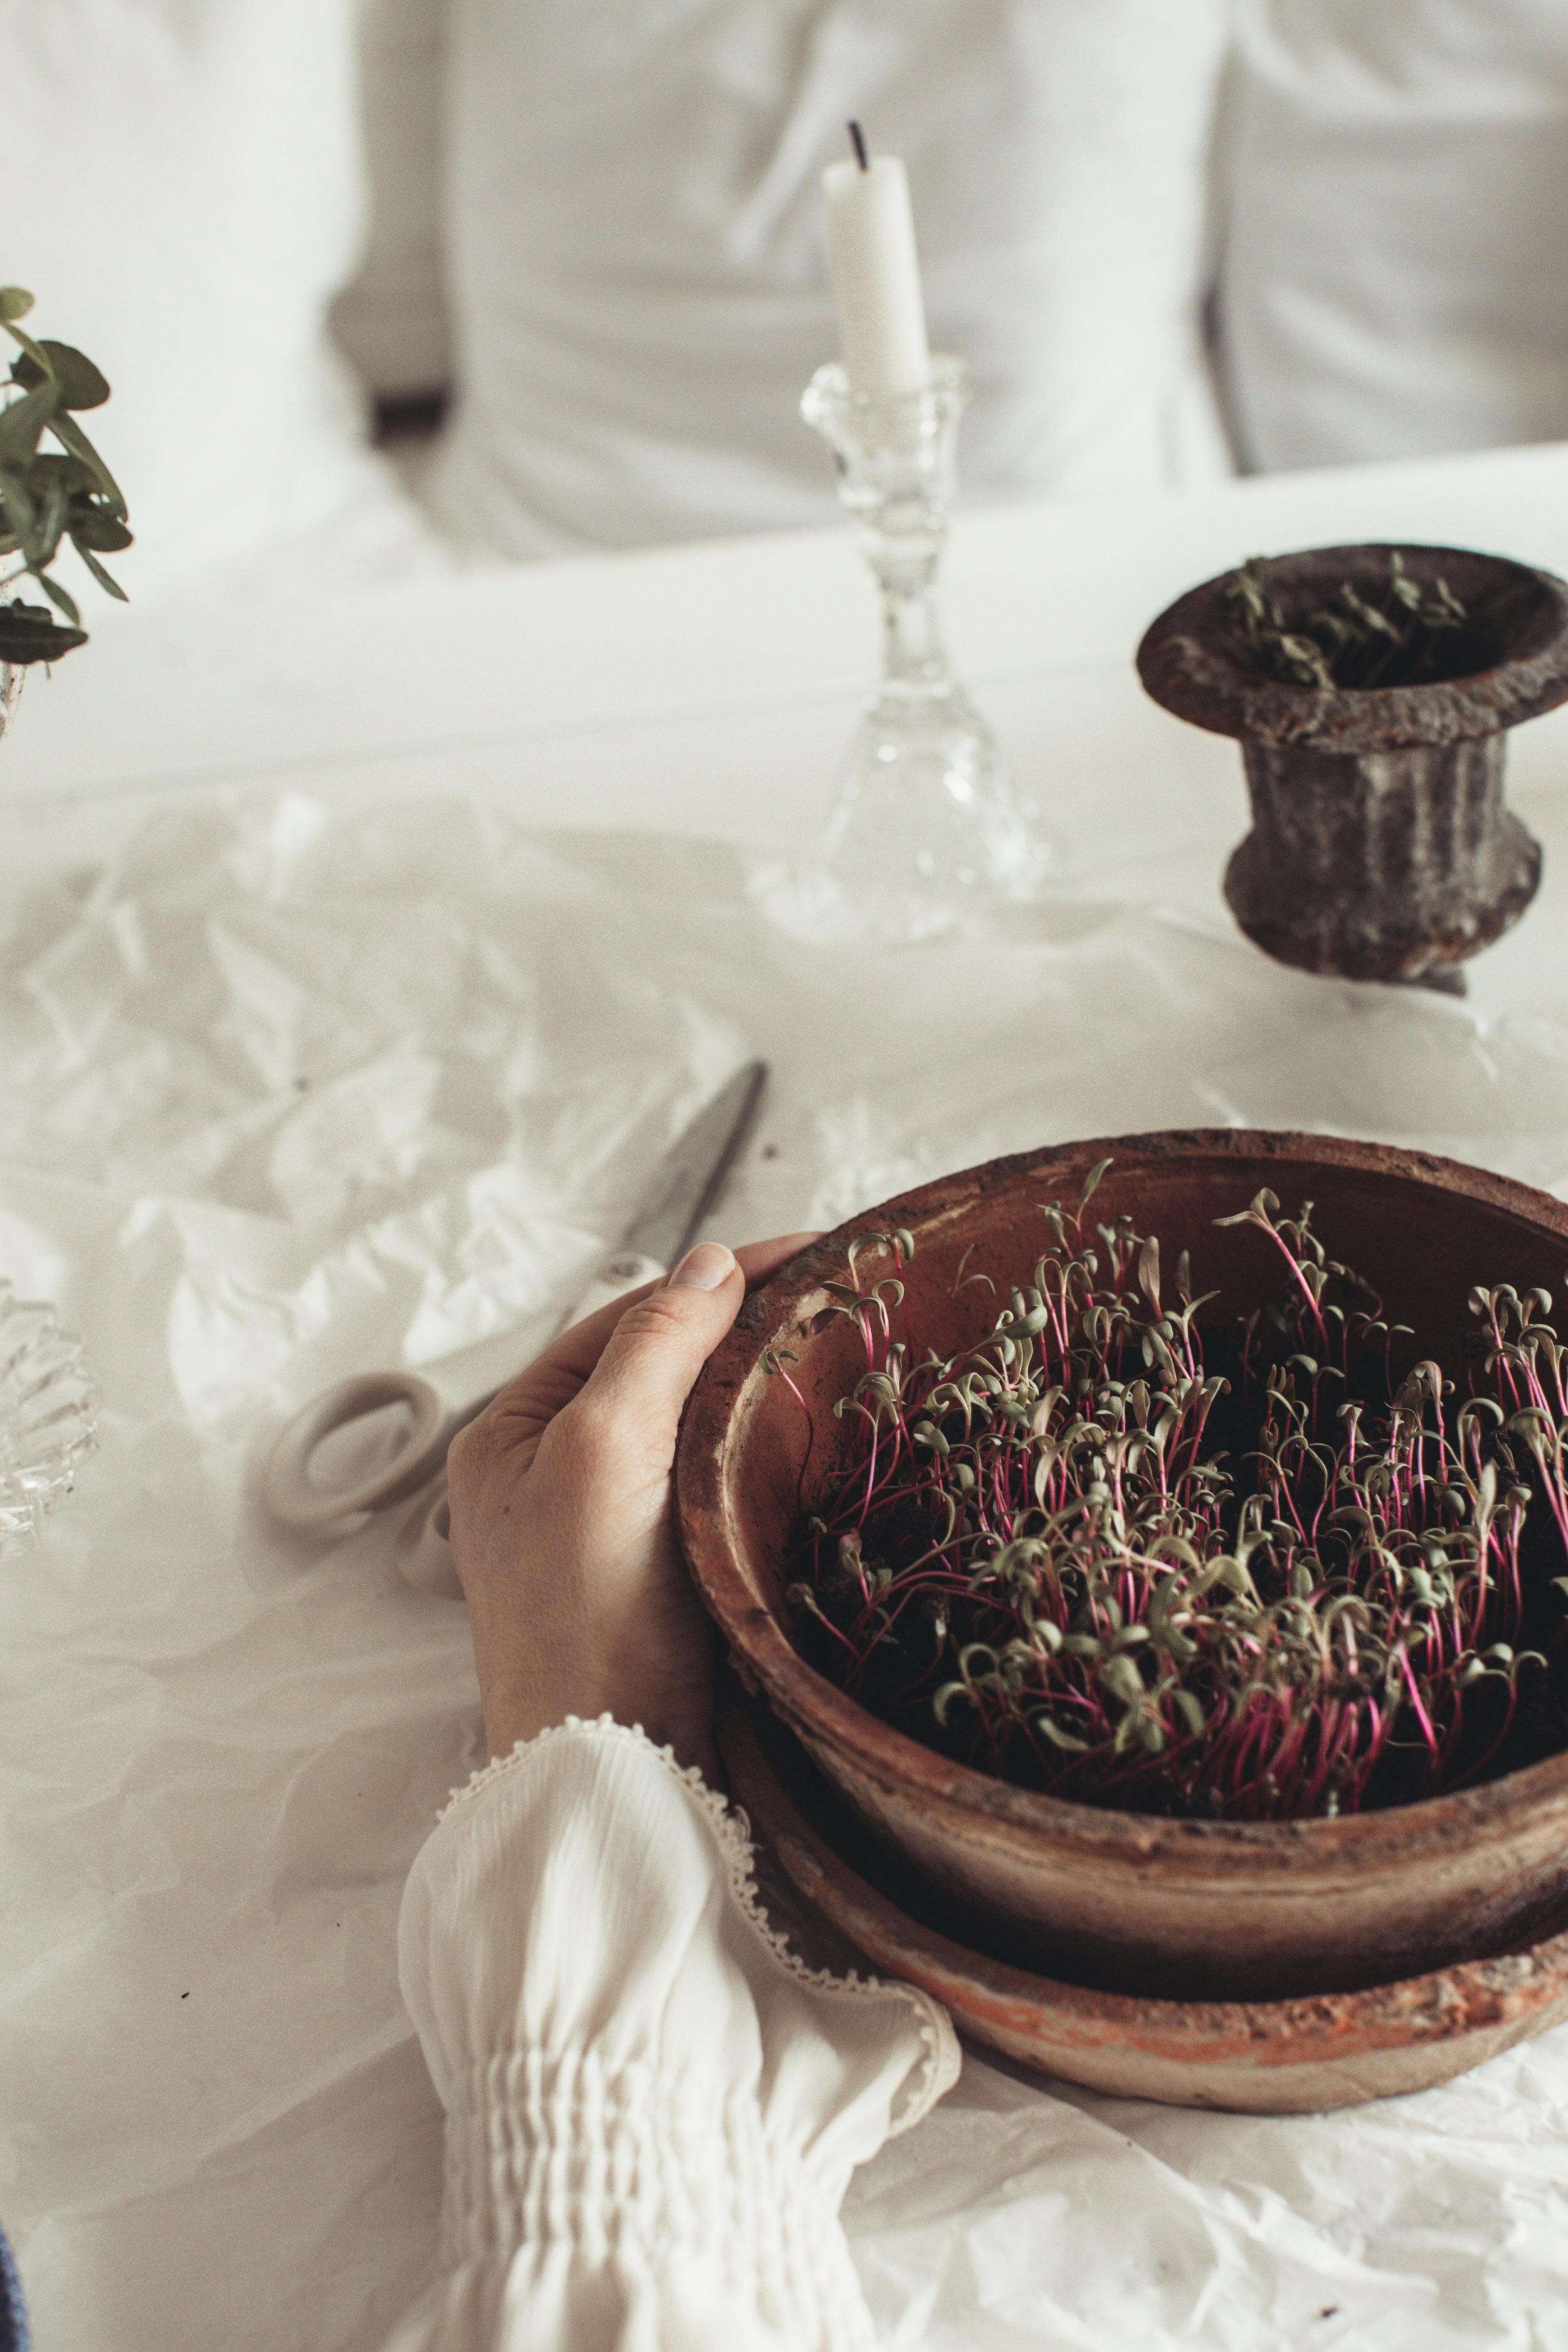

Growing microgreens in your kitchen is not just a hobby; it's a journey into a world of culinary and health wonders. Imagine transforming a corner of your kitchen into a lush mini-garden, vibrant with fresh green shoots bursting with flavor and nutrients. Aged terracotta pots become vessels of life, nurturing tiny seeds into vibrant greens right on your countertop.
The greatness of growing microgreens lies in their speed and convenience. Within a matter of days, tender shoots emerge, ready to be harvested for a burst of freshness in your dishes. Their compact size makes them perfect for even the smallest of spaces, turning any kitchen into a green oasis. Plus, the process is incredibly satisfying – witnessing the miracle of growth firsthand is a joyous experience.
But the benefits extend far beyond mere aesthetics. Microgreens are packed with essential nutrients, often even more concentrated than their mature counterparts. These miniature powerhouses are rich in vitamins, minerals, and antioxidants, offering a potent boost to your health with every bite. Incorporating them into your diet can enhance immunity, support digestion, and promote overall well-being.
What's more, growing microgreens at home allows you to exercise full control over their cultivation. You know exactly what goes into their growth – no pesticides or harmful chemicals, just pure, wholesome goodness. And the freshness they provide is unparalleled; there's nothing quite like snipping a handful of greens right before mealtime, infusing your dishes with a burst of flavor and vitality.


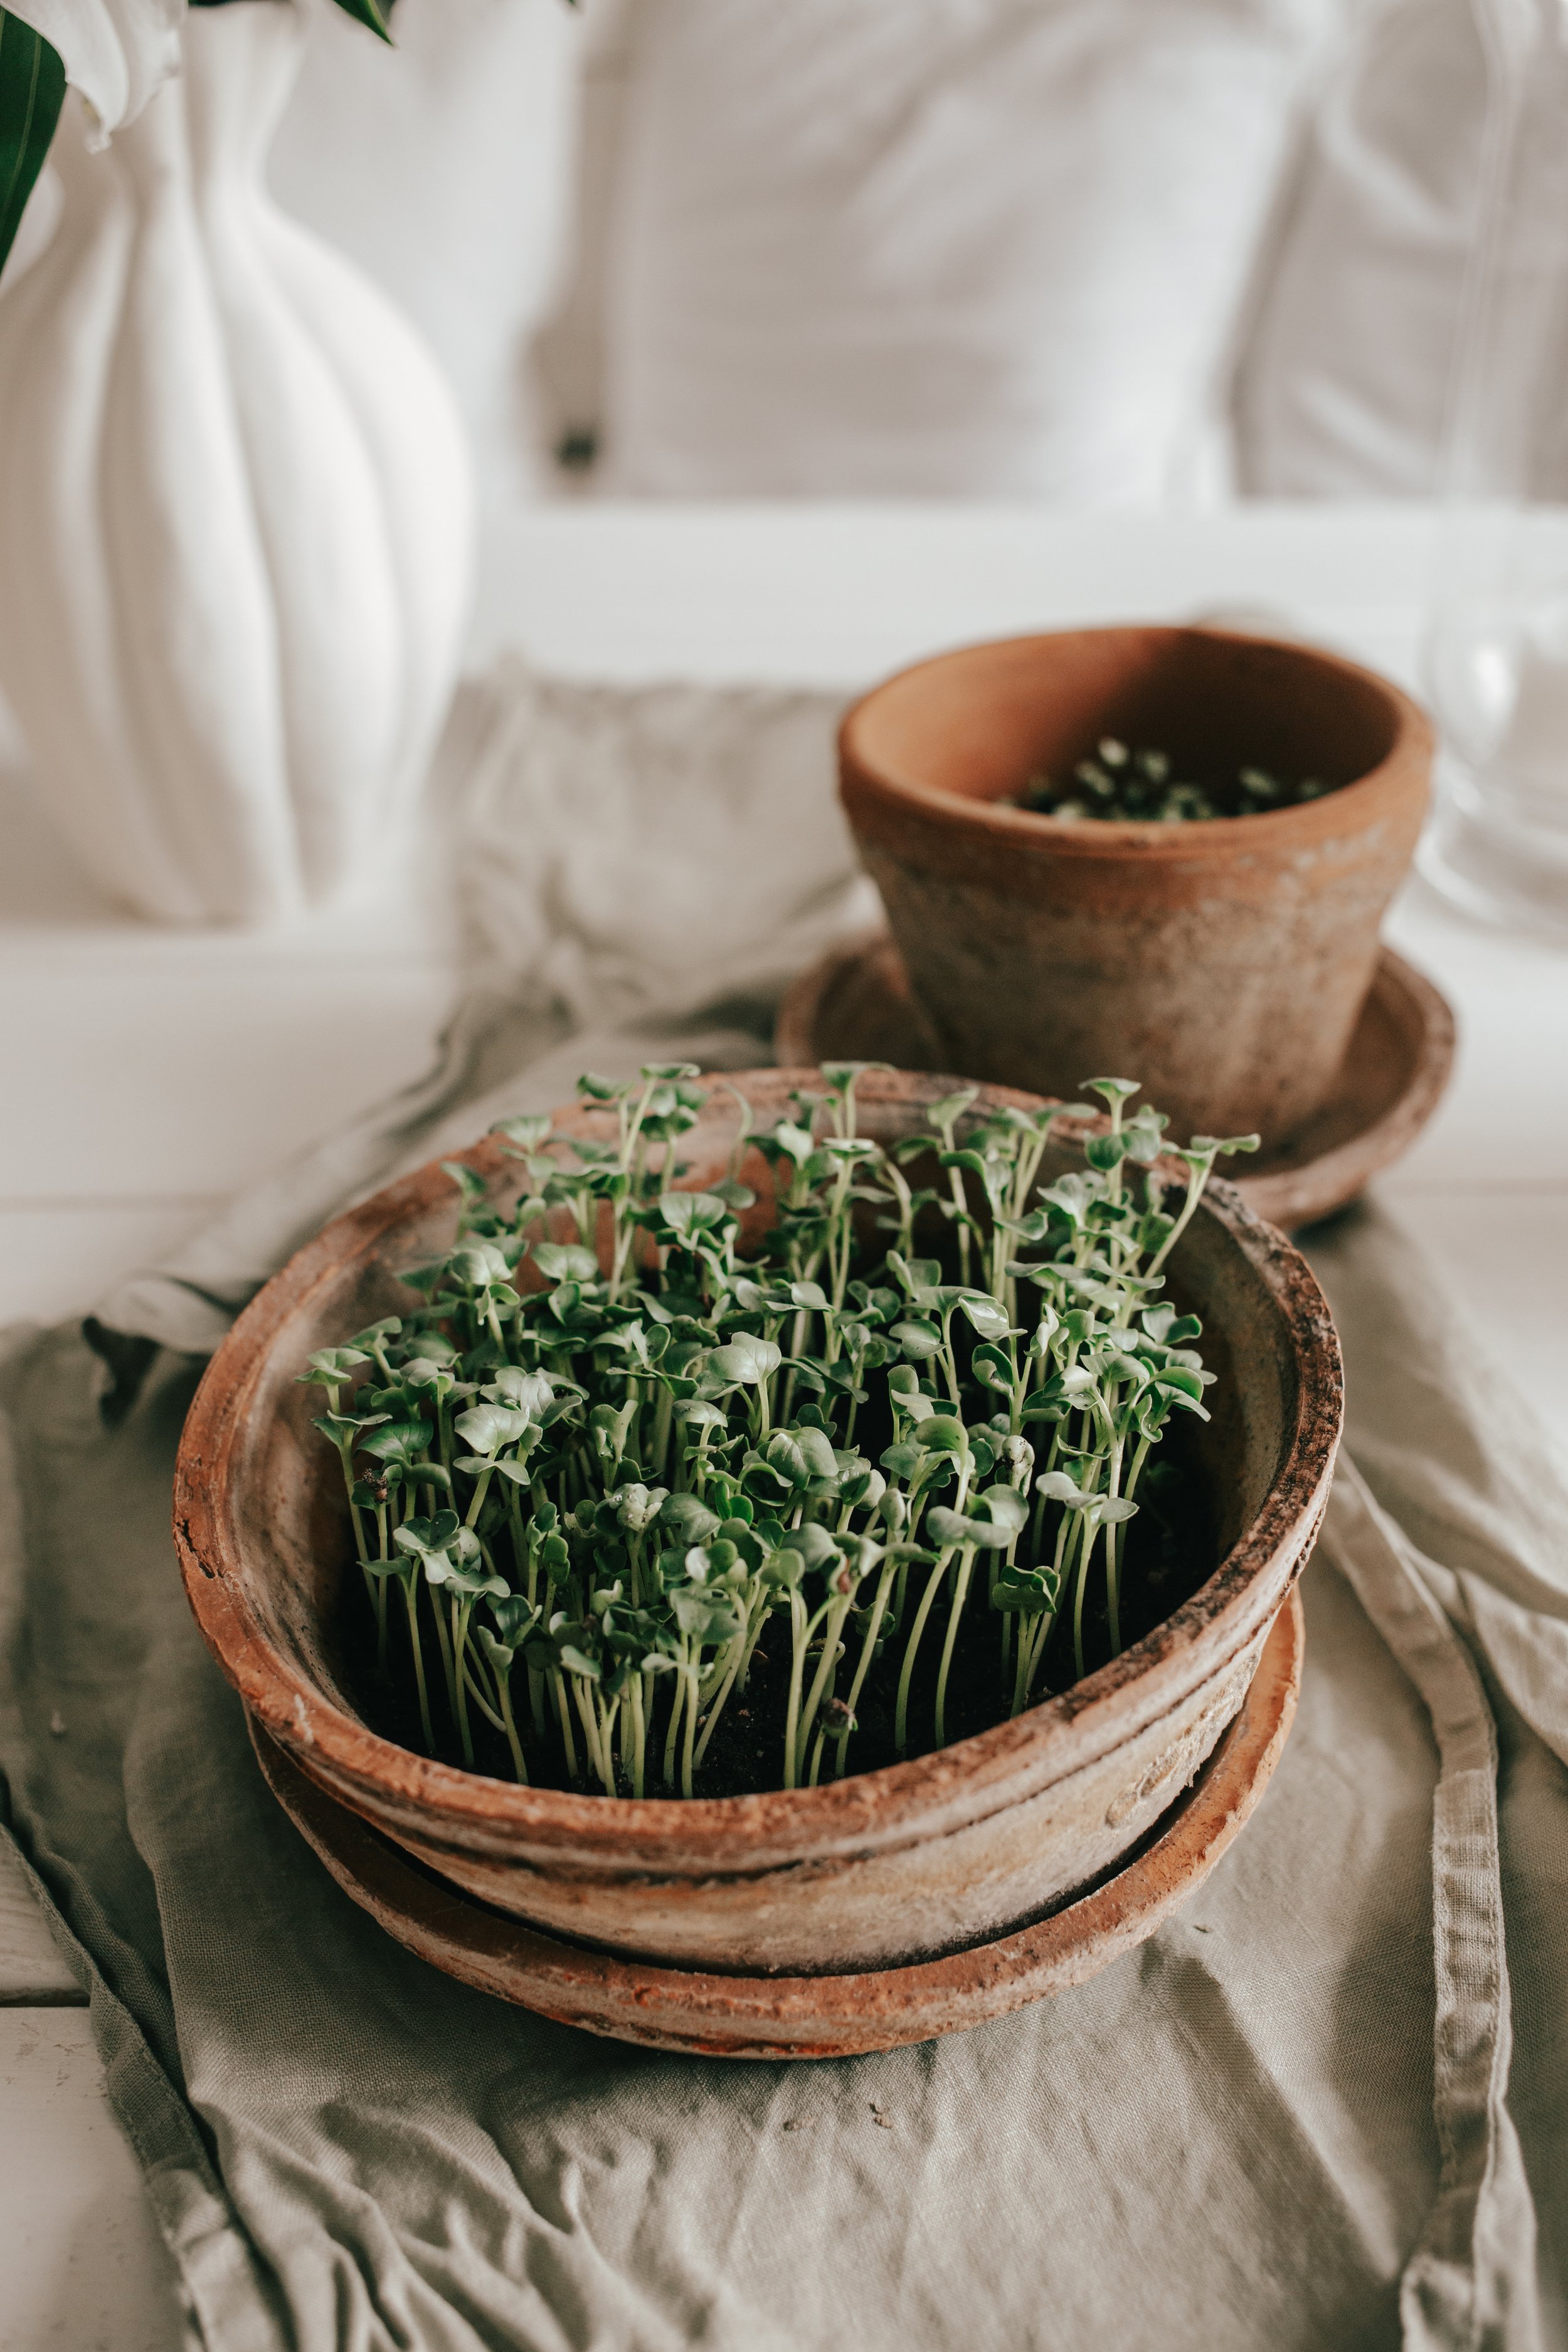
Prepare your materials: Gather terracotta pots or any shallow containers suitable for growing microgreens. Ensure they have drainage holes to prevent waterlogging. You'll also need potting soil or a soilless growing medium, microgreen seeds, and water.
Fill the pots with soil: Add a thin layer of potting soil to each pot, filling them almost to the brim. Ensure the soil is loose and well-draining to support healthy root growth.
Sow the seeds: Sprinkle a generous amount of microgreen seeds evenly across the surface of the soil. Gently press them into the soil, but avoid burying them too deeply; microgreens prefer to be close to the surface for optimal growth.
Water the seeds: Using a gentle spray or a watering can with a fine rose, moisten the soil thoroughly. Ensure the soil is evenly moist but not waterlogged, as excess moisture can lead to mold or rot.
Cover with clingfilm: To create a mini-greenhouse effect and speed up germination, cover the pots with a layer of clear clingfilm or plastic wrap. This helps to retain moisture and warmth, creating an ideal environment for seed germination.
Monitor and water: Keep an eye on the pots daily and water as needed to maintain soil moisture. Avoid overwatering, as this can lead to damping-off disease or mold growth.
Remove the clingfilm: Once the seeds start to sprout and push through the soil, typically within a few days, remove the clingfilm or plastic covering. If using clingfilm, you can poke a few holes in it to allow for air circulation while still retaining some moisture.
Provide light: Place the pots in a bright location, preferably near a window where they can receive ample sunlight. If natural light is limited, you can supplement with a grow light to ensure healthy growth.
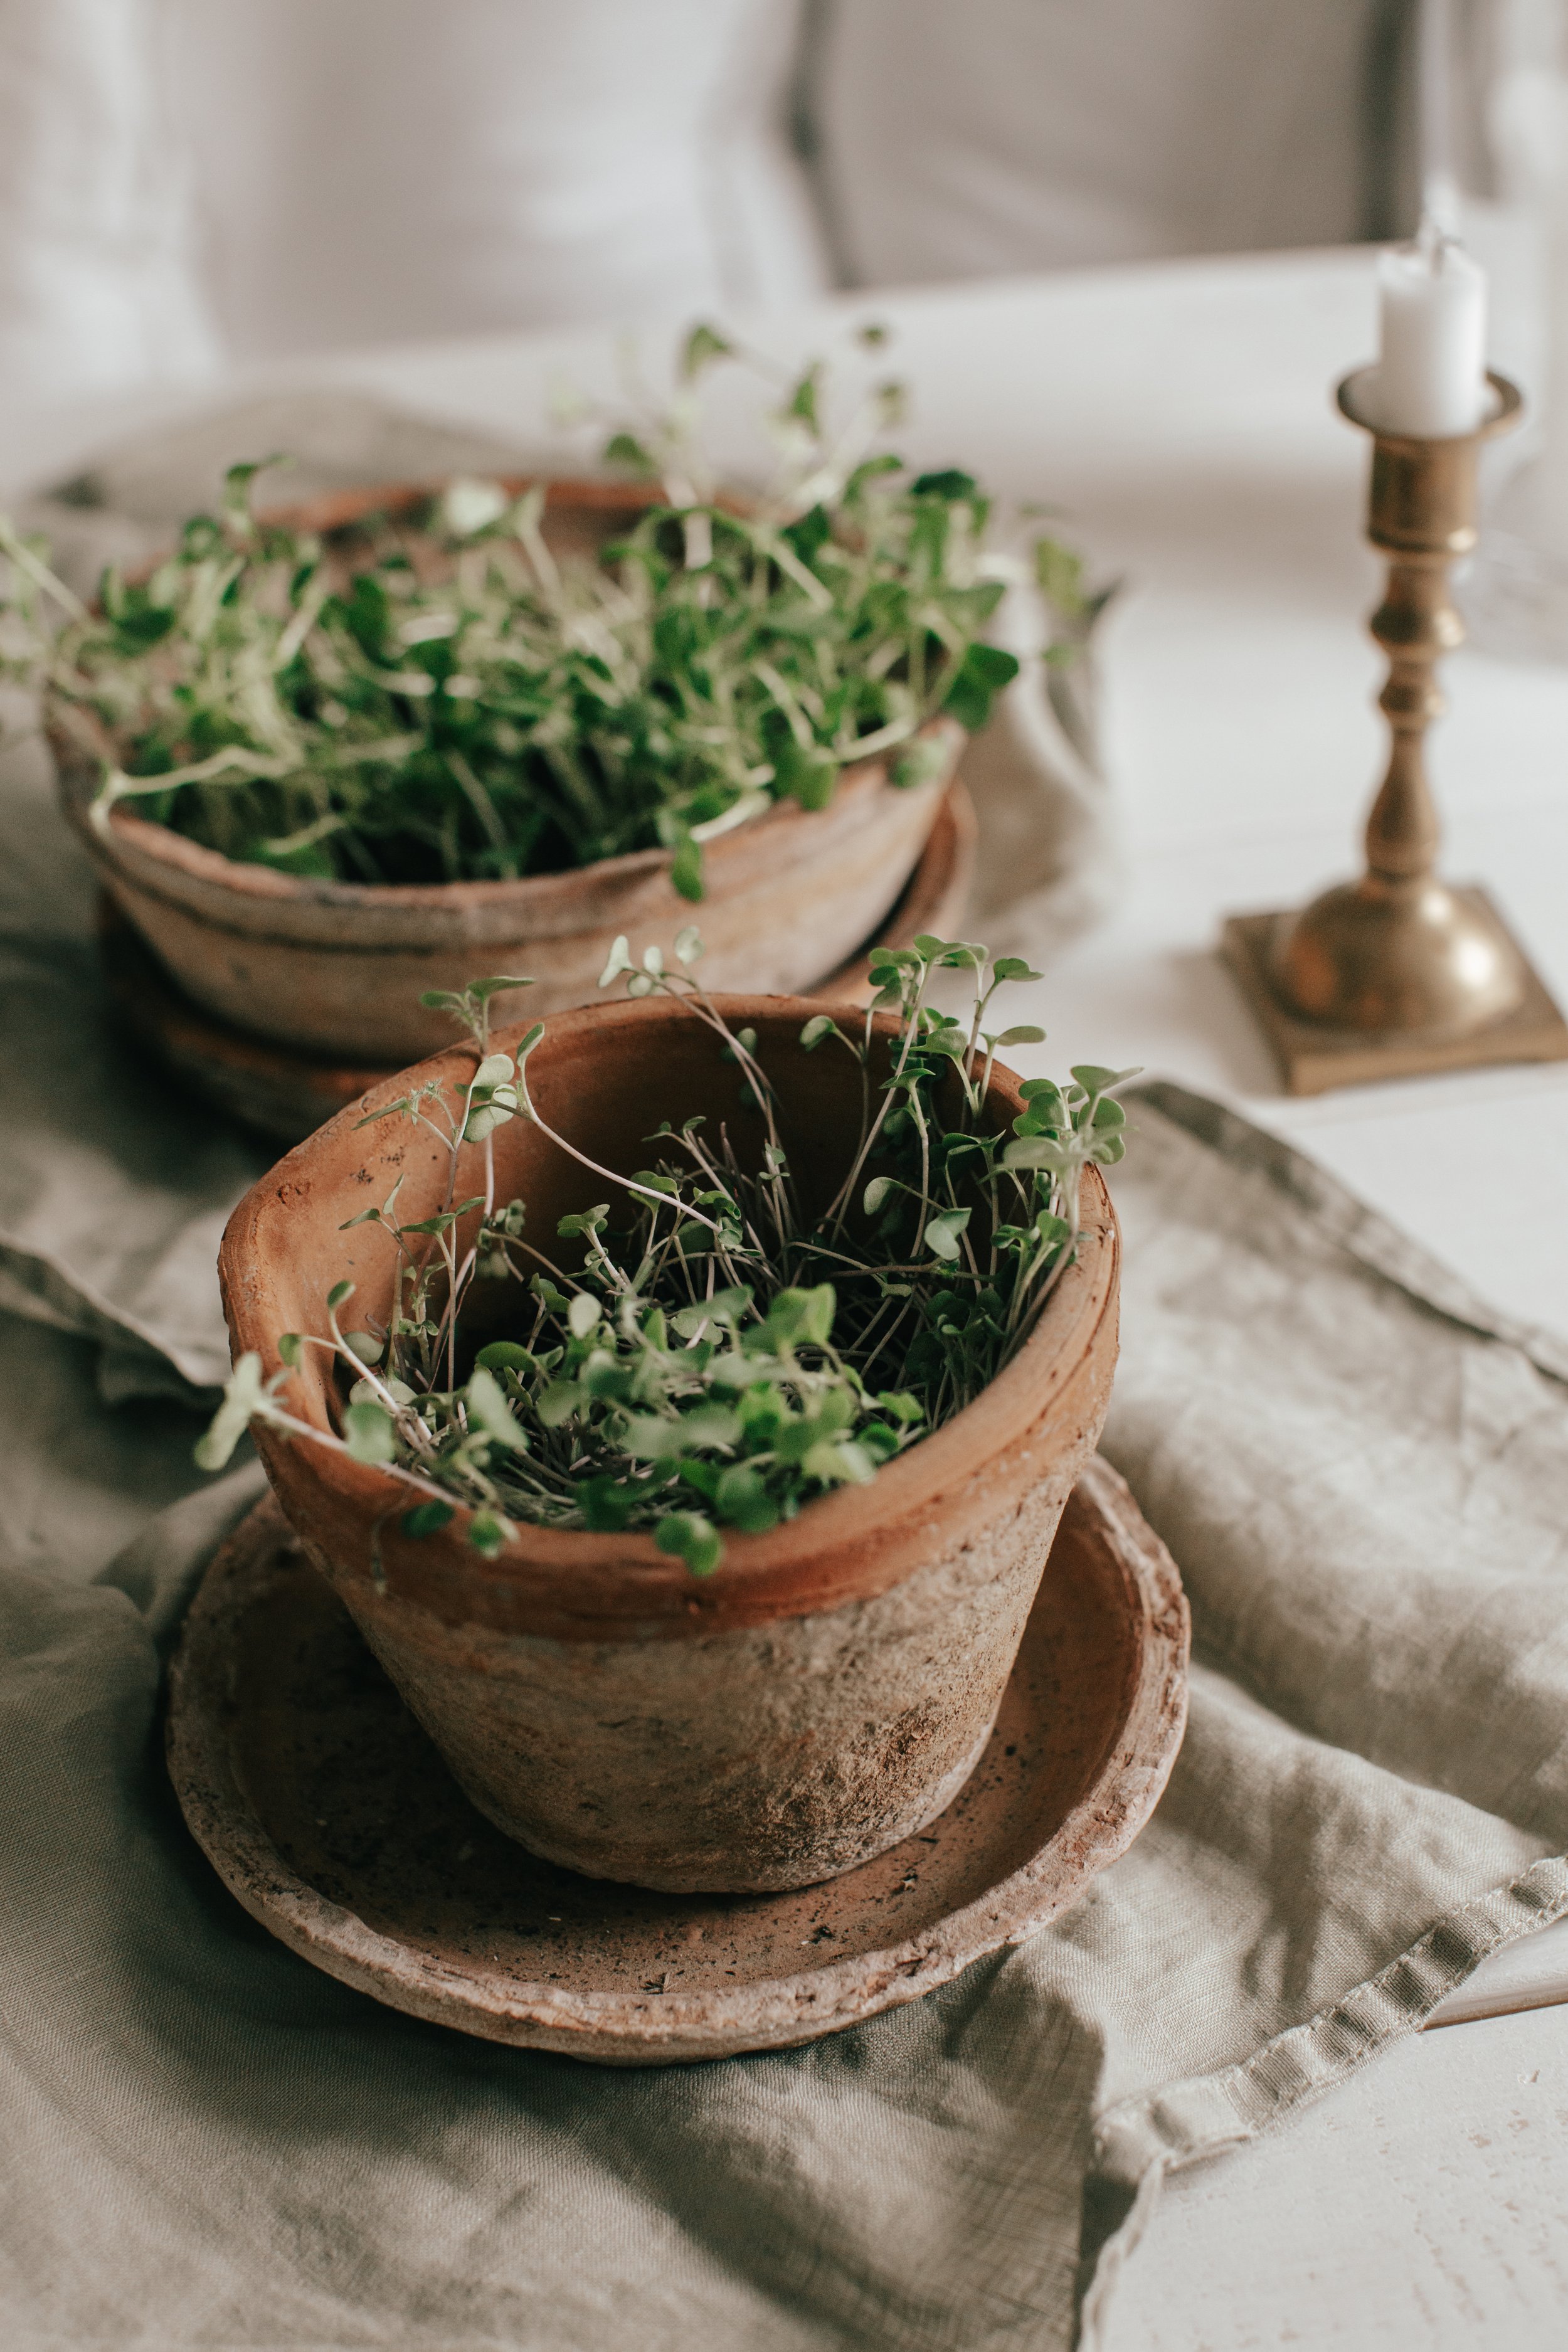
Watch them grow: As the microgreens grow, continue to water them regularly and monitor their progress. Depending on the variety, they can be ready for harvest in as little as one to two weeks.
Harvest and enjoy: Once the microgreens reach a height of a few inches and develop their first set of true leaves, they are ready to be harvested. Simply snip them off just above the soil line with clean scissors and add them to your favorite dishes for a nutritious and flavorful boost.
With a bit of soil, seeds, and care, you can enjoy a continuous supply of fresh and vibrant microgreens right from your kitchen countertop. Happy growing!

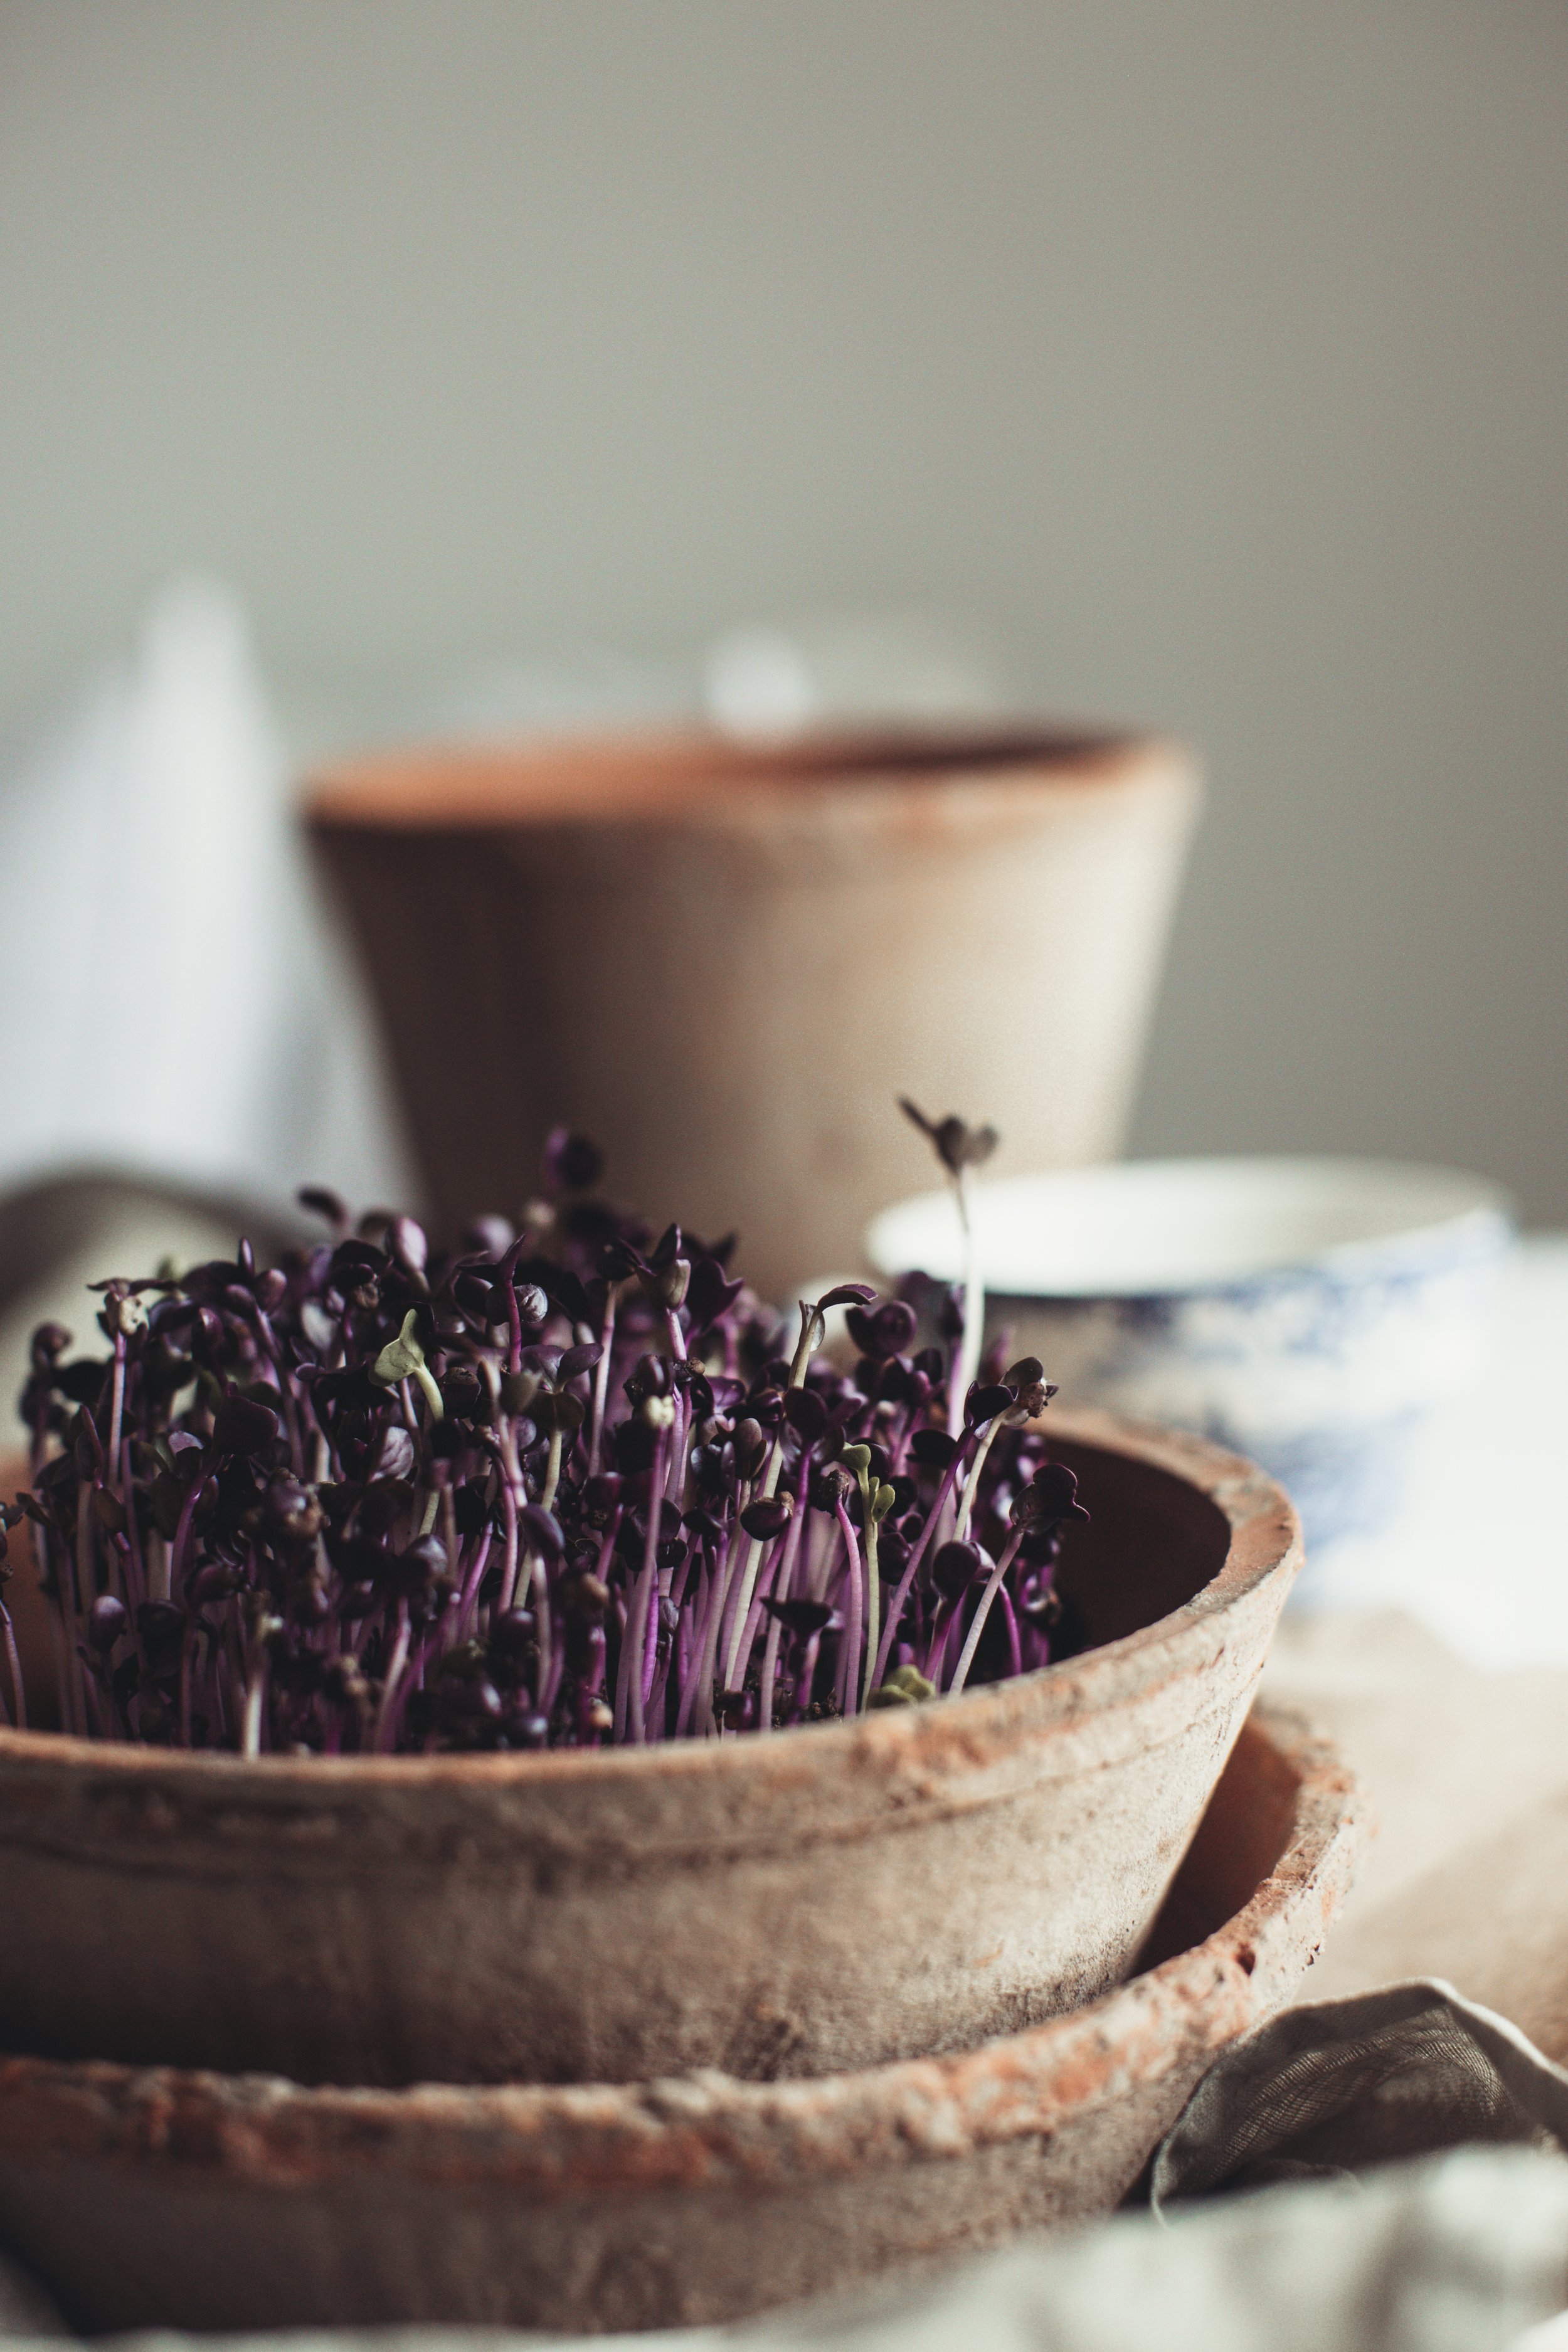
3 days of growth (red daikon)- you can see the seeds are just starting to burst with slight growth